
How To Paint Rooms Like A Pro
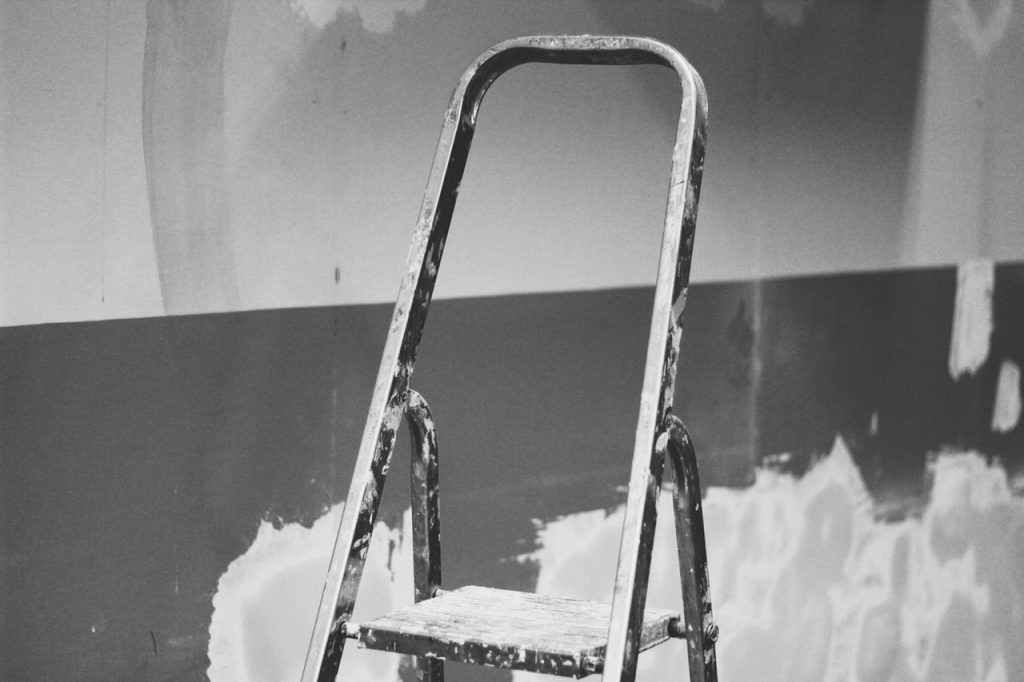
DIY painting is a lot of fun, but if you don’t have the basics covered then, trust me, you are in for a messy job. So if you have made up your mind about the colours and have bought them, I would advise getting the equipment next.
- TAPE: if you are planning to add stripes on your wall or want a particular design or space to not be coloured then cover that part in tape.
- DROP CLOTH: while painting, the color will definitely be dripping to your floors. Use a drop cloth so you don’t have to clean up the whole place later. Once done, just crumple and throw the cloth. Easy!
- PAINT ROLLERS: Rollers help you cover more space and save you the pain of using heavy brushes.
- LARGE BUCKET: instead of using small buckets of paint, dump all the paint in a single bigger container. It will help you maintain the same consistency and colour for the wall.
- SMALL BRUSHES: Once done with painting, you might need to do touch-ups in some spots. These smaller brushes come in handy during that time.
Okay, so now we have covered the equipment’s department. Are we ready to paint now? Well, not really. You can’t just start rolling the roller on the wall. It is going to look disastrous if you do that. Below are the tips on how to start your mission:
- Never roll your paint roller too many times or over a small space. It makes it look uneven and, dare I say like a kid has painted the walls. Roll your roller along with the full height. Start at the corner and keep going up until the first stripe is done. Load more paint quickly on your roller and make the second stripe. Don’t let the paint dry off. Make sure the edge of the first stripe overlaps with the next stripe’s edge or else it’s going to look uneven.
- If you are painting a commercial space like waterfront accommodation, make sure you won’t have any guests staying in the room in the next 72 hours, as it will smell like paint. This actually happened to me once, and I had to cancel the room and find another, much better hotel package in Hobart.
- Make sure when doing different laps that your roller has a good wet edge or else it will look dry on the wall as well.
- To get perfect edges, put scotch tape exactly where you want the edge to be. Once the painting is done, the paint will start forming a thin layer between the wall and on the tape. So instead of ripping the tape, use a utility knife or box cutter to cut it before taking off the tape lightly. What will happen if you just rip off? Well, the paint is going to crack.
- Also, make sure you leave it for at least 24 hours to dry before taking the tapes off.
- Have you ever noticed blotches on some walls? It is called “Flashing”. If you have that kind of patches on your wall then coat it with primer. A single coat only. And you are good to go!
- Professionals usually have an order that they follow while painting. First paint the trims/edges, then go for the ceilings and finally the wall. It is easier that way. And most importantly don’t forget to let the paint dry off before starting again.
- If your wall is grimy or very old (or oily) then use a heavy cleaner to make the surface even and clean before you start painting. Or else the paint will peel off real soon and it will also look uneven.
That is it with the tips. Heed all our advice and you should be good to go. Oh and don’t forget to keep your nose and clothes covered! The smell usually makes your nose a bit itchy.


